Growing Turmeric or Curcuma longa (Haldi) in Containers 🪴🪴🪴| Houseplants Notes 004 - Varsha Aundhia
Have you ever wondered how to grow your own turmeric at home?" Welcome to our journey into the vibrant world of turmeric cultivation.
Turmeric(Curcuma longa), a close relative of ginger, is a perennial herb known for its vibrant orange rhizomes which are used fresh or boiled in water and dried, after which they are ground into a deep orange-yellow powder commonly used as a seasoning, dye, drug with diverse applications and also used in the cosmetics industry. This golden spice, haldi is revered for its numerous health benefits. India is a major producer and exporter of turmeric in the world. Let's look into the basics of growing turmeric.
Before you plant your turmeric, there are a few things you need to prepare."

Choosing Your Turmeric
The first step to growing vibrant, healthy turmeric is to choose a good quality rhizome. These are the parts of the plant that will grow into your future turmeric crop, so it's crucial to select the best ones. Turmeric can be grown from fresh organic rhizomes readily available in local stores. Look for rhizomes that are thick and strong, these contain a lot of starch that will convert to sugar and sprout when ready to be resown. Store them openly, much like you'd store onions, garlic, or potatoes in your kitchen. This allows your rhizomes to breathe and sprout naturally after their dormancy period. The key here is patience. Don't rush to plant them right after harvesting or when they are fresh or they'll rot and die. this is because they are in a dormancy period for 2 to 4 months after harvest. However, if you're looking to experiment with different varieties or can't find them locally, you can easily order turmeric seed rhizomes online.
Exploring Turmeric Varieties
While most stores primarily stock the deep orange variety of Curcuma longa, there are other fascinating varieties to consider. The yellow variety offers a more pungent and spicy flavour, while the white mango turmeric resembles the taste of an underripe mango. Exploring these different varieties can add depth and diversity to your container garden.
Next, let's talk about soil. They prefer a near clay or red soil, that has been enriched with manure. Sandy soil? Not so much. They also require a tight, hard soil, not too loose. This is crucial for the growth of the rhizomes, the part of the plant that we actually use. Avoid sandy soil as it does not provide the firmness that turmeric needs to grow. This is because turmeric, like other underground plants such as ginger or yam, exerts pressure to send its roots down. If the soil is too loose, the rhizomes may push the plant upwards, negatively affecting the quality of your crop. For container gardening, combine approximately 70-80% organic potting soil with 20-30% well-balanced compost.
Turmeric is a plant that requires minimal fertilizers. It is recommended to choose compost that has been aged properly. Turmeric rhizomes do not require excessive fertilizer before sprouting, but they benefit from slow-release fertilizer during the growth phase. It's best to use manure once a month, with two handfuls and DAP fertilizer or NPK 20 grams once every two months.
Climate & Temperature Considerations
Growing turmeric requires specific conditions to flourish. Turmeric is a tropical herb which grows in both tropics and subtropics. Therefore, it thrives when provided with ample sunlight, moderately warm temperatures, and consistent watering. It grows at a temperature range of 20-35°c. It requires humid climatic conditions. It is grown under rainfed or irrigated conditions.
Ideal Planting Location
In tropical climates, turmeric can be grown throughout the year with ease. However, during the summer, the plant may appear less vibrant. Turmeric prefers full sun but can be sensitive to scorching heat, especially in climates with temperatures exceeding 90 degrees Fahrenheit or 35°C. In such cases, providing afternoon shade can prevent stress on the plant.
Time to Sow and Harvest
Turmeric is a seasoned crop. The key to a successful turmeric harvest is timely sowing, letting it grow, and harvesting at the right time.
In regions with moderate climates or where winter temperatures are not very low, crops are typically sown from July to August and harvested between February and March. This is because the region does not experience cold winters. The same pattern is followed in other coastal regions. However, in places, where the winter temperatures are very low, crops are sown between February and March and harvested between October and November. Depending upon the variety and time of sowing, well grown turmeric crop is ready to harvest in 7-9 months. Turmeric flowers bloom once a year and are beautiful, but for high-quality rhizomes, they should be removed one or two days after blooming.
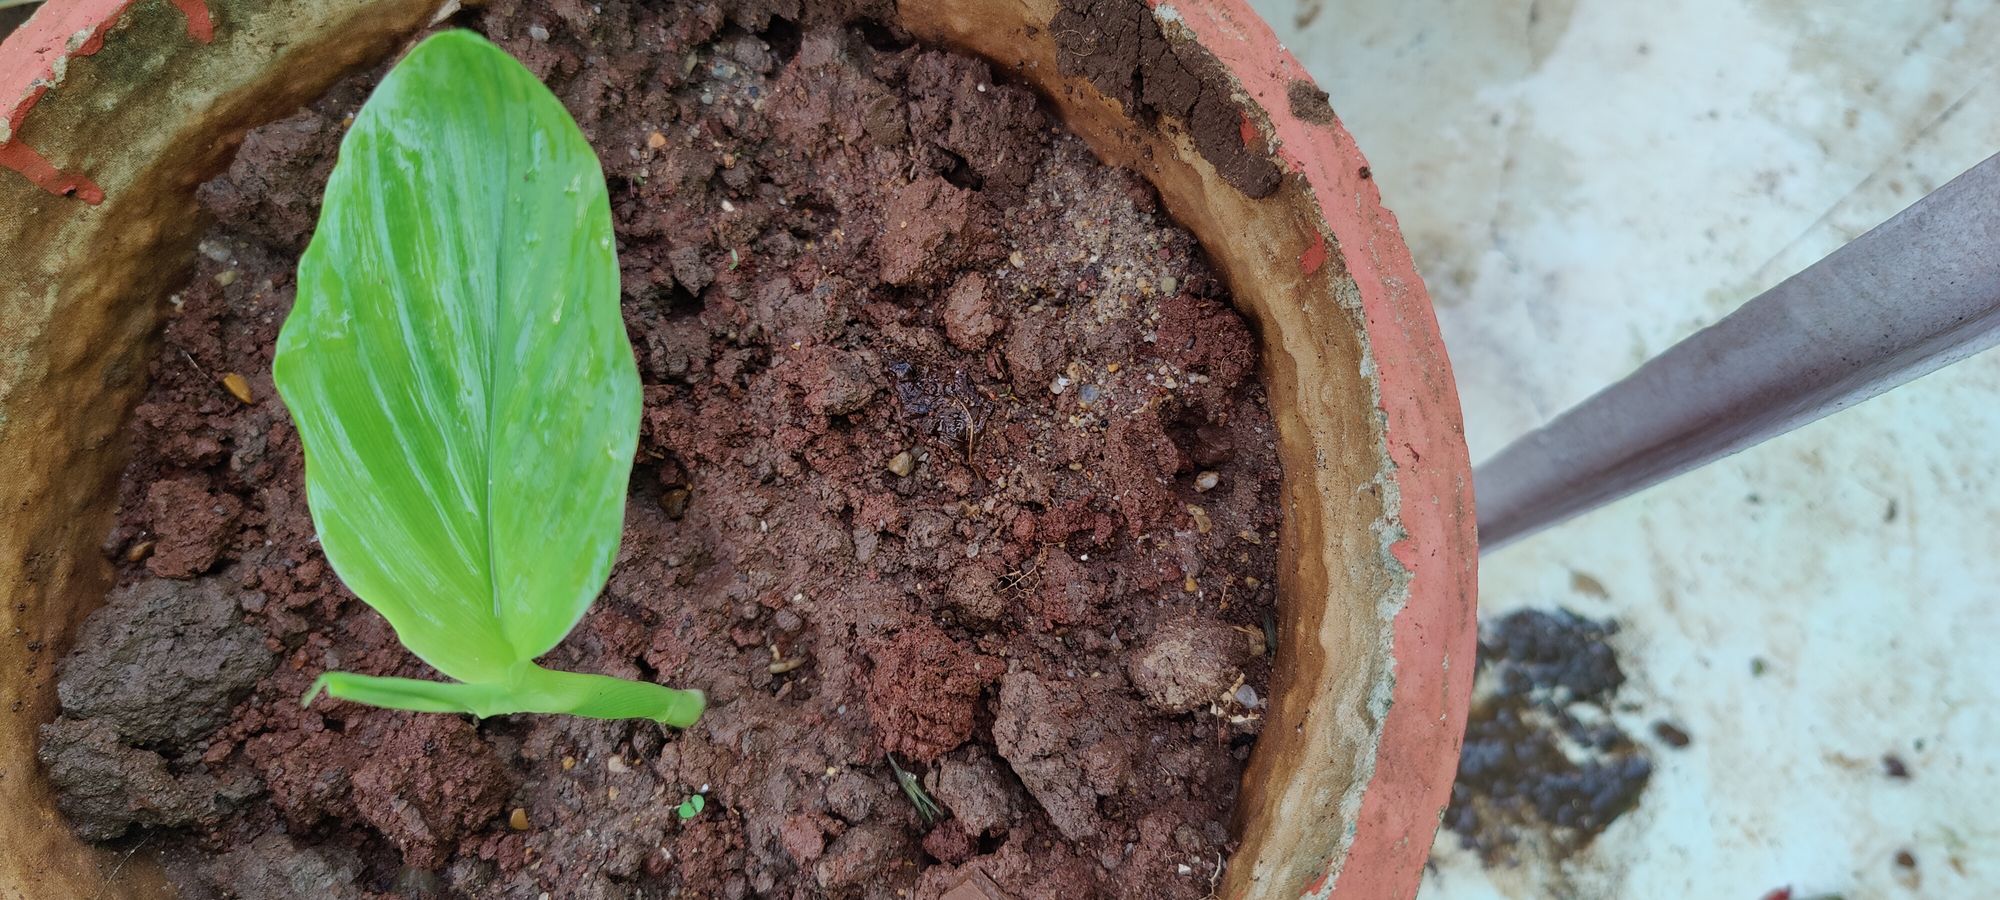
let's talk about the depth of sowing. This is important because the rhizomes exert pressure to send its roots down as they grow. To accommodate this, you should sow your rhizomes three to four times the height of the rhizome itself. This ensures that the rhizome has enough space to grow and flourish, and won't be pushed up out of the soil as it expands. You might be tempted to do shallow planting, thinking that it will make the process easier or quicker. But resist that temptation. Shallow planting can lead to the entire plant being pushed up out of the soil when the rhizome starts forming. This can reduce the quality of your rhizomes, and we certainly don't want that! Instead, always opt for deep planting. Your sprouts need not be visible outside. They're perfectly happy growing beneath the soil surface, away from the prying eyes of pests and the harsh rays of the sun.
Harvesting and storing your turmeric properly is as important as growing it.

Turmeric requires a frost-free growing period of 7 to 9 months, from planting to harvest. Additionally, there's a dormancy period of 30 to 35 days after harvest, so proper storage in a shaded area is crucial.
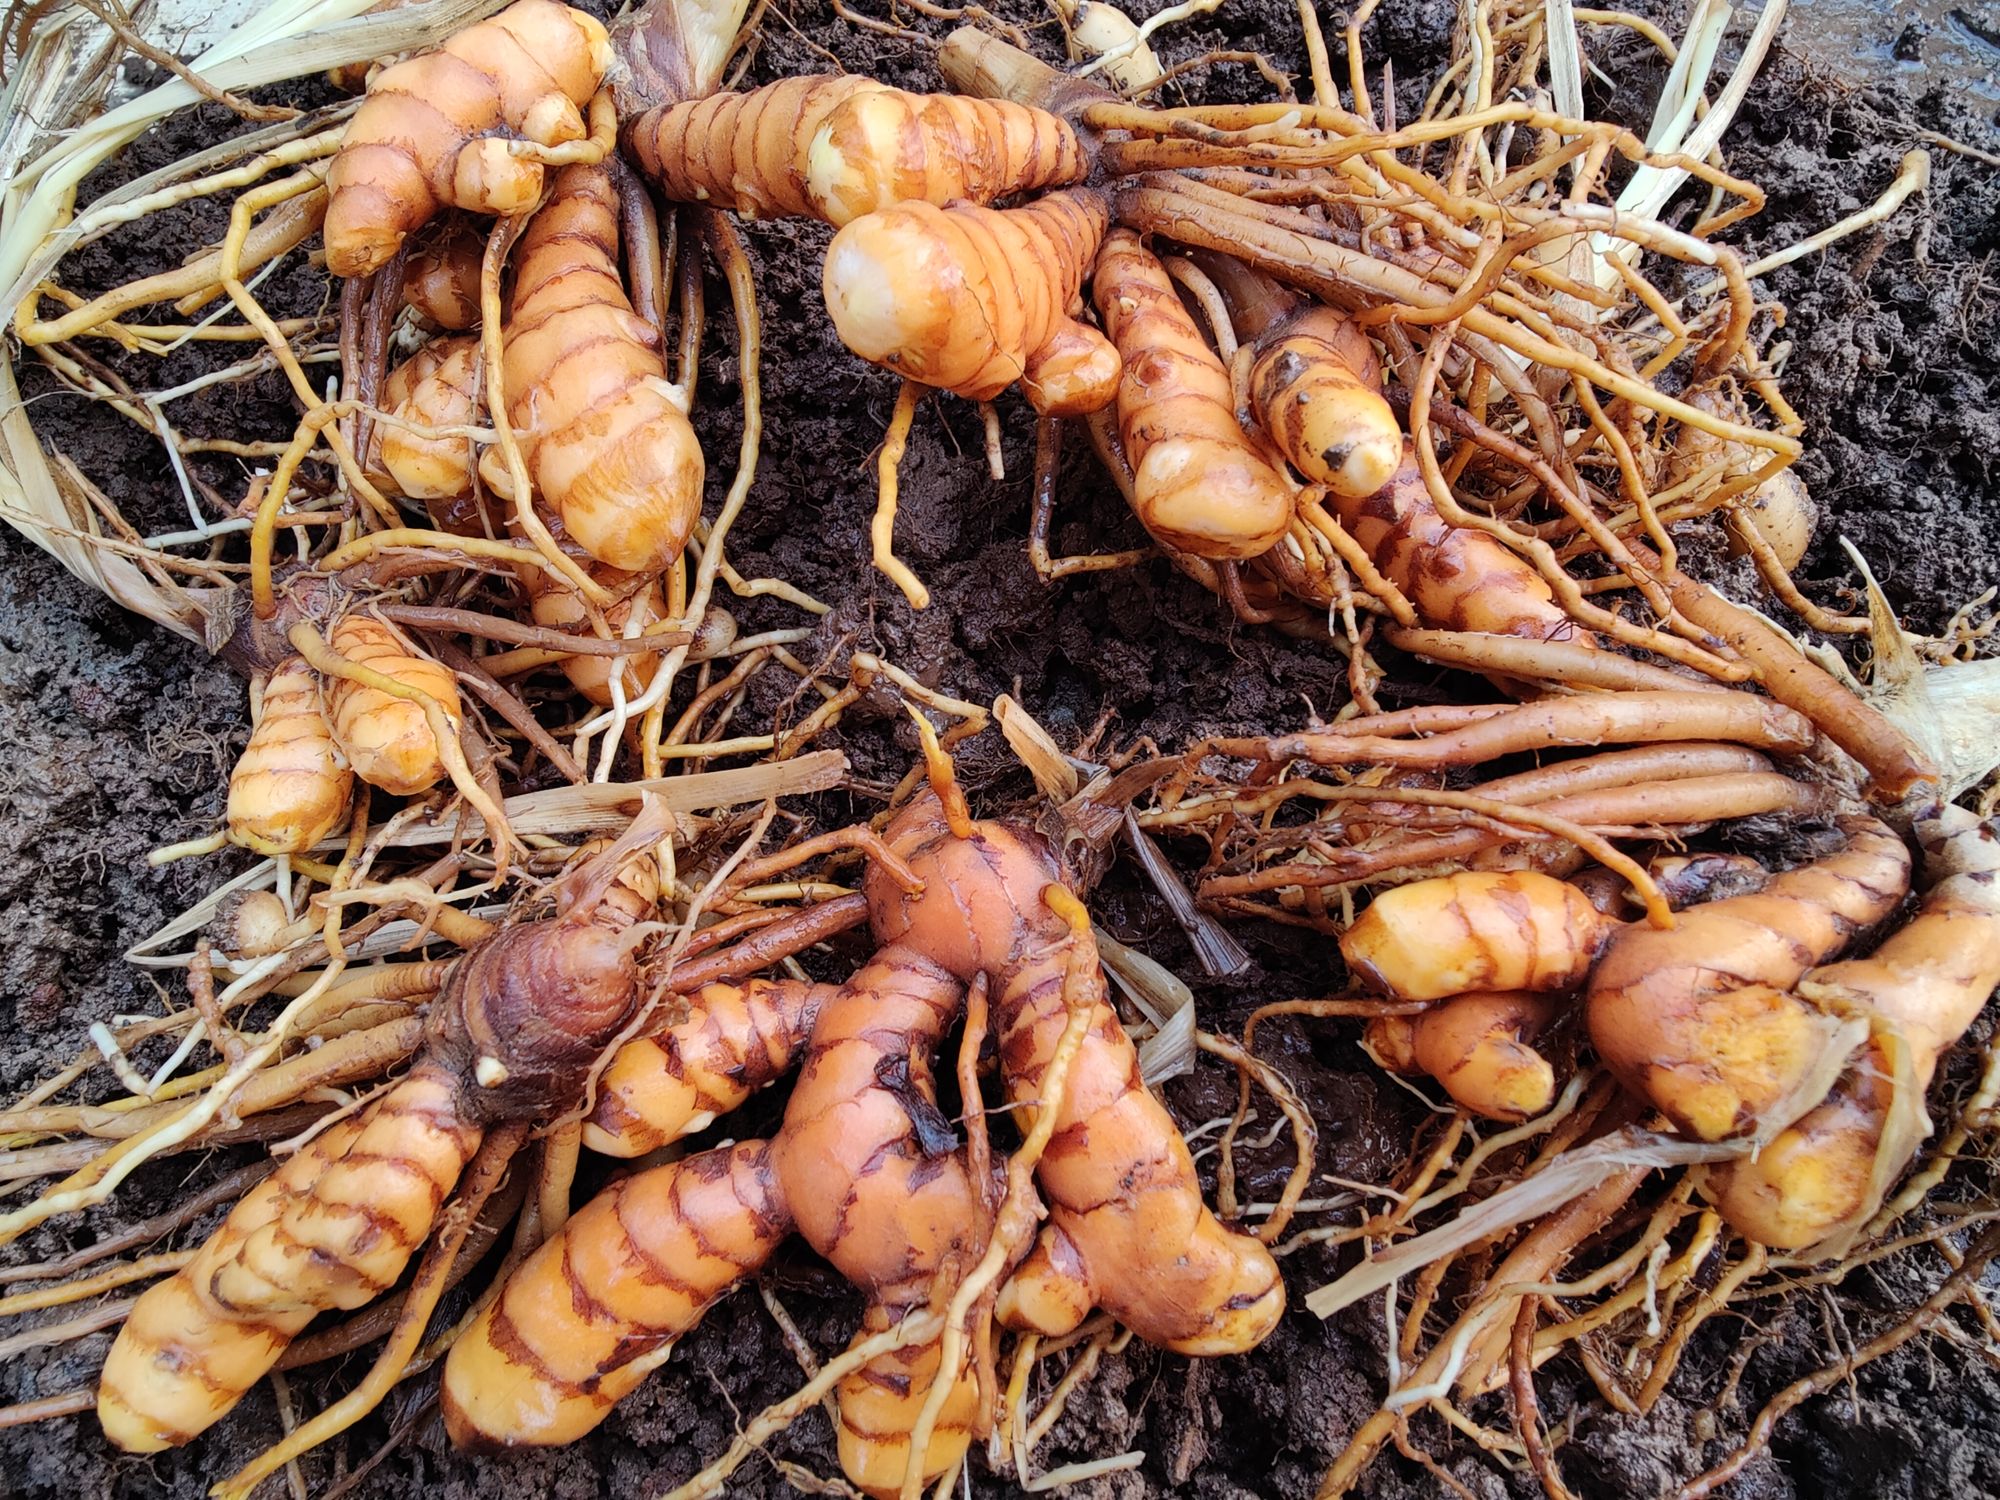
Knowing when to harvest turmeric is essential for a successful yield. To identify the right time, look for yellow-brown and drying leaves. Typically, it takes around 7 to 9 months after planting for the optimal harvest time. When you harvest, it's best to avoid yanking the stalks, as this can damage both your hands and the rhizomes. Instead, use a trowel or your hands to loosen the soil around the stalks gently. Then, carefully lift or scoop out the rhizomes. Rinse the rhizomes to remove dirt, cut them away from the stalks, and allow the skins to air dry before storing them.
Once you've harvested all your turmeric, store them openly, much like you'd store onions, garlic, or potatoes in your kitchen. This allows your rhizomes to breathe and sprout naturally after their dormancy period. The key here is patience. Don't rush to plant them right after harvesting, or they'll rot and die. With these steps, you now have the knowledge to grow, harvest, and store your own turmeric."
Containers for Growing Turmeric
Selecting the right container is essential for a successful turmeric harvest. Containers should be at least 10 to 12 inches deep, with a focus on width and surface area. Adequate spacing between rhizome seeds is crucial for healthy growth, so narrow containers can limit your harvest potential.
We recommend using grow bags that are 24 inches in diameter and 12 inches in height. These bags provide ample space for the turmeric to grow and can be easily moved if necessary. You can plant two rhizomes per bag, which makes efficient use of space. You can also grow turmeric in rice bags.
Harvesting Turmeric with Care
Knowing when to harvest turmeric is crucial for a successful yield. Look for yellow-brown and drying leaves, and consider an average of 10 months after planting as the optimal time. When harvesting, avoid yanking the stalks, which can damage your hands and the rhizomes. Instead, gently loosen the soil around the stalks with a trowel or your hands, and then carefully lift or scoop out the rhizomes. Rinse them to remove dirt, cut them away from the stalks, and allow the skins to air dry before storing them.
If almost 4 rhizomes are used, then they can yield around 5 to 6 kilograms of fresh turmeric. Alternatively, each rhizome can produce about one and a half kilos of fresh turmeric when harvested properly. If this quantity of fresh turmeric is dried, then it will result in 300 grams of dry haldi or haldi powder.
All it takes is a little bit of time. a little bit of care, and a whole lot of love. Happy growing!
Happy growing,
Varsha Aundhia


